一 概述
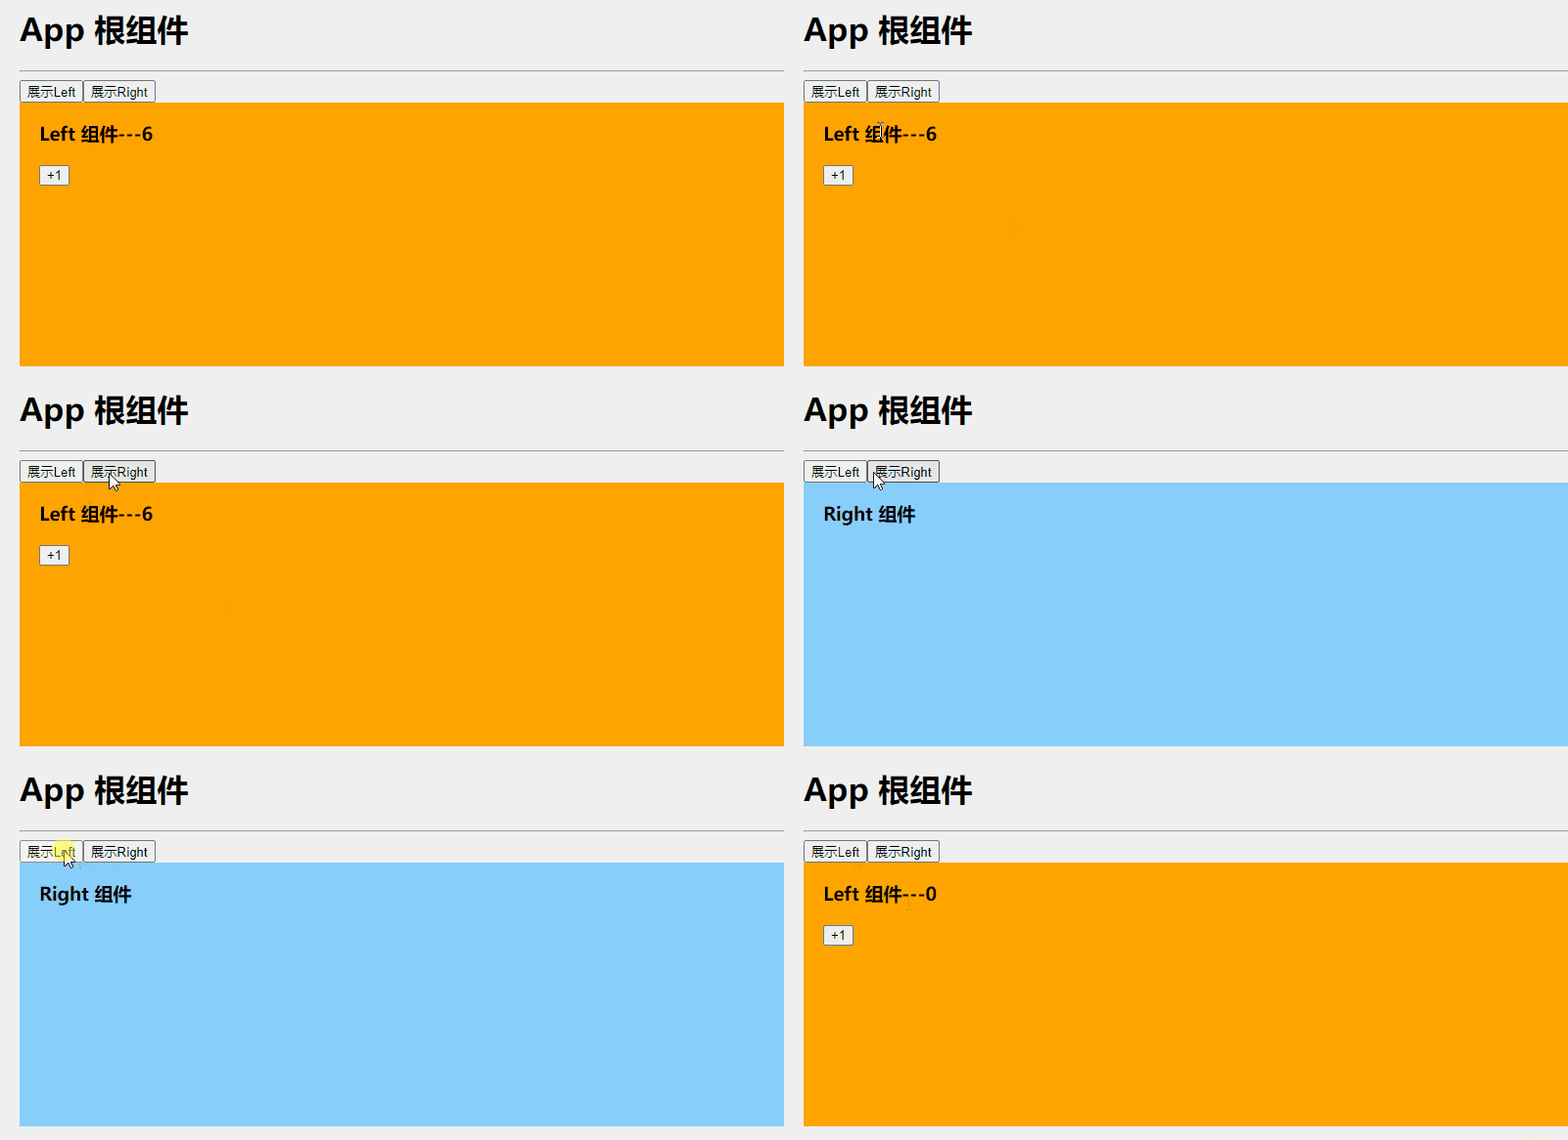
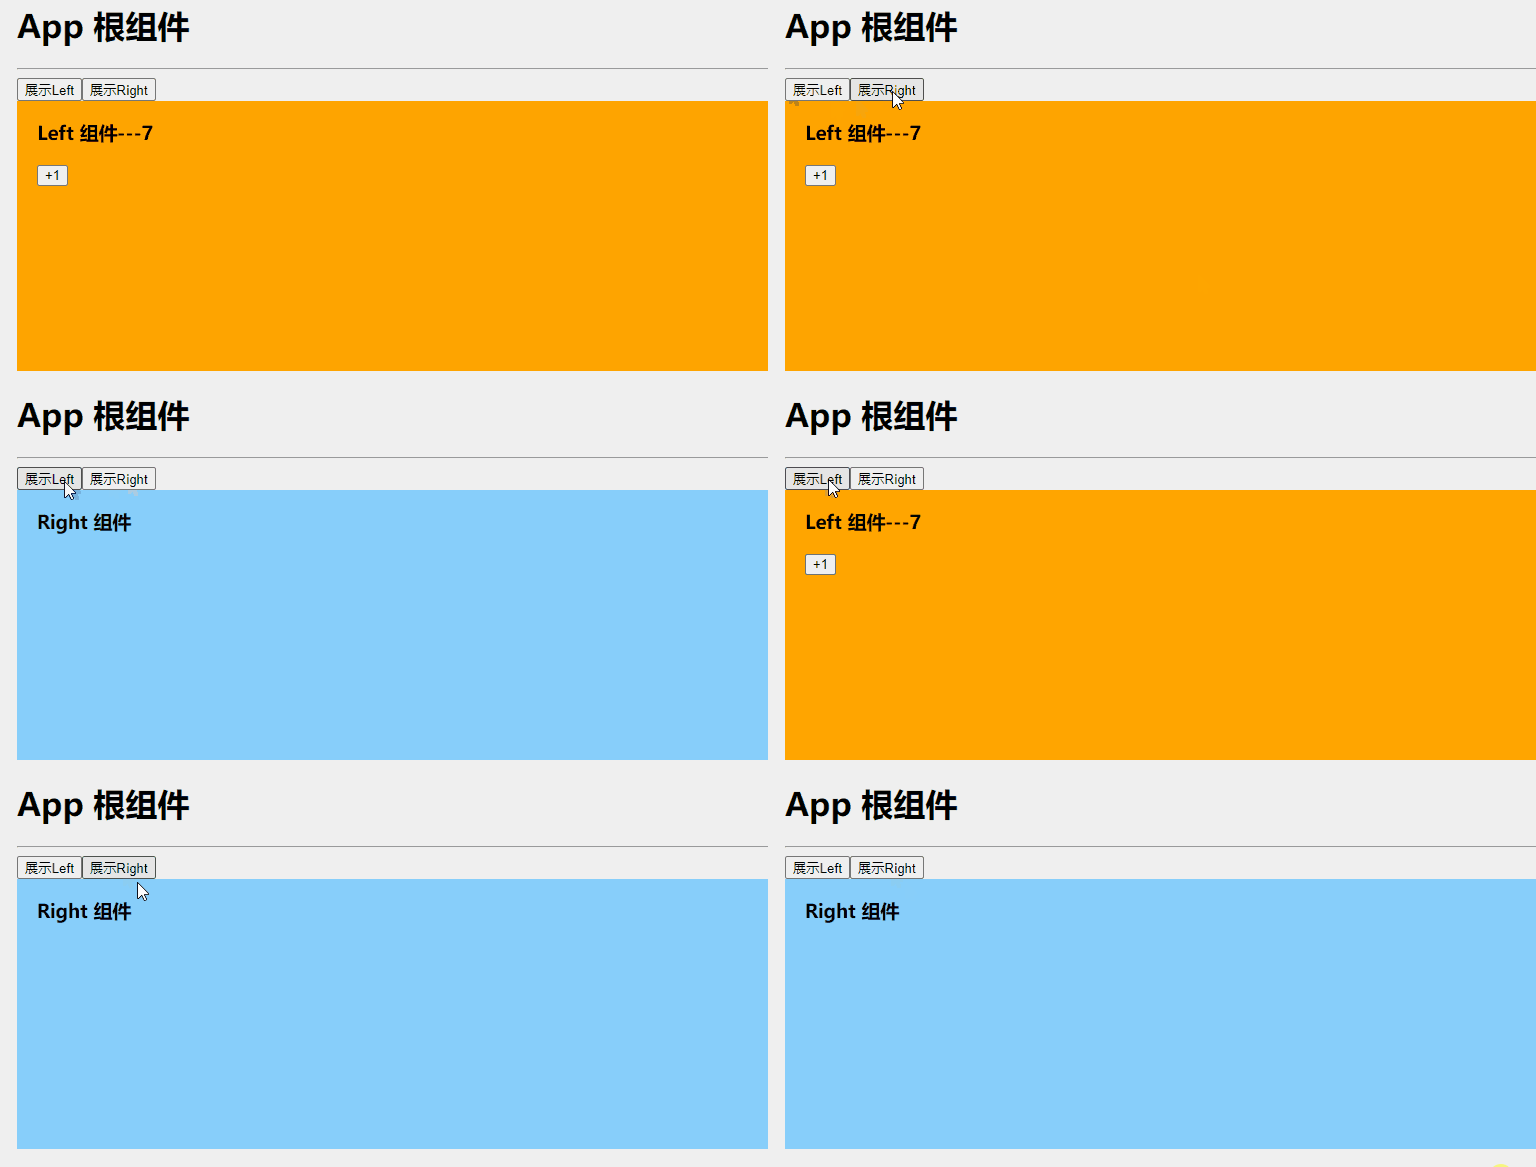
- 使用keep-alive前后对比
- 未使用keep-alive时,状态变化
- 使用keep-alive时,状态变化
- keep-alive对应的生命周期函数
二 使用keep-alive前后对比
| 使用之前 |
使用之后 |
 |
 |
三 未使用keep-alive时,状态变化
3.1 Left.vue中功能实现
给Left组件设置默认数据count
1
2
3
4
5
6
7
| export default {
data(){
return {
count:0
}
}
}
|
添加一个+按钮,实现自增功能
1
2
3
4
5
6
| <template>
<div class="left-container">
<h3>Left 组件---{{ count }}</h3>
<button @click="count+=1">+1</button>
</div>
</template>
|
添加Left组件的生命周期,并打印
1
2
3
4
5
6
| created() {
console.log('Left组件被创建了')
},
destroyed(){
console.log('Left组件被销毁了')
}
|
3.2 App.vue中Left组件使用
1
| <component :is="comName"></component>
|
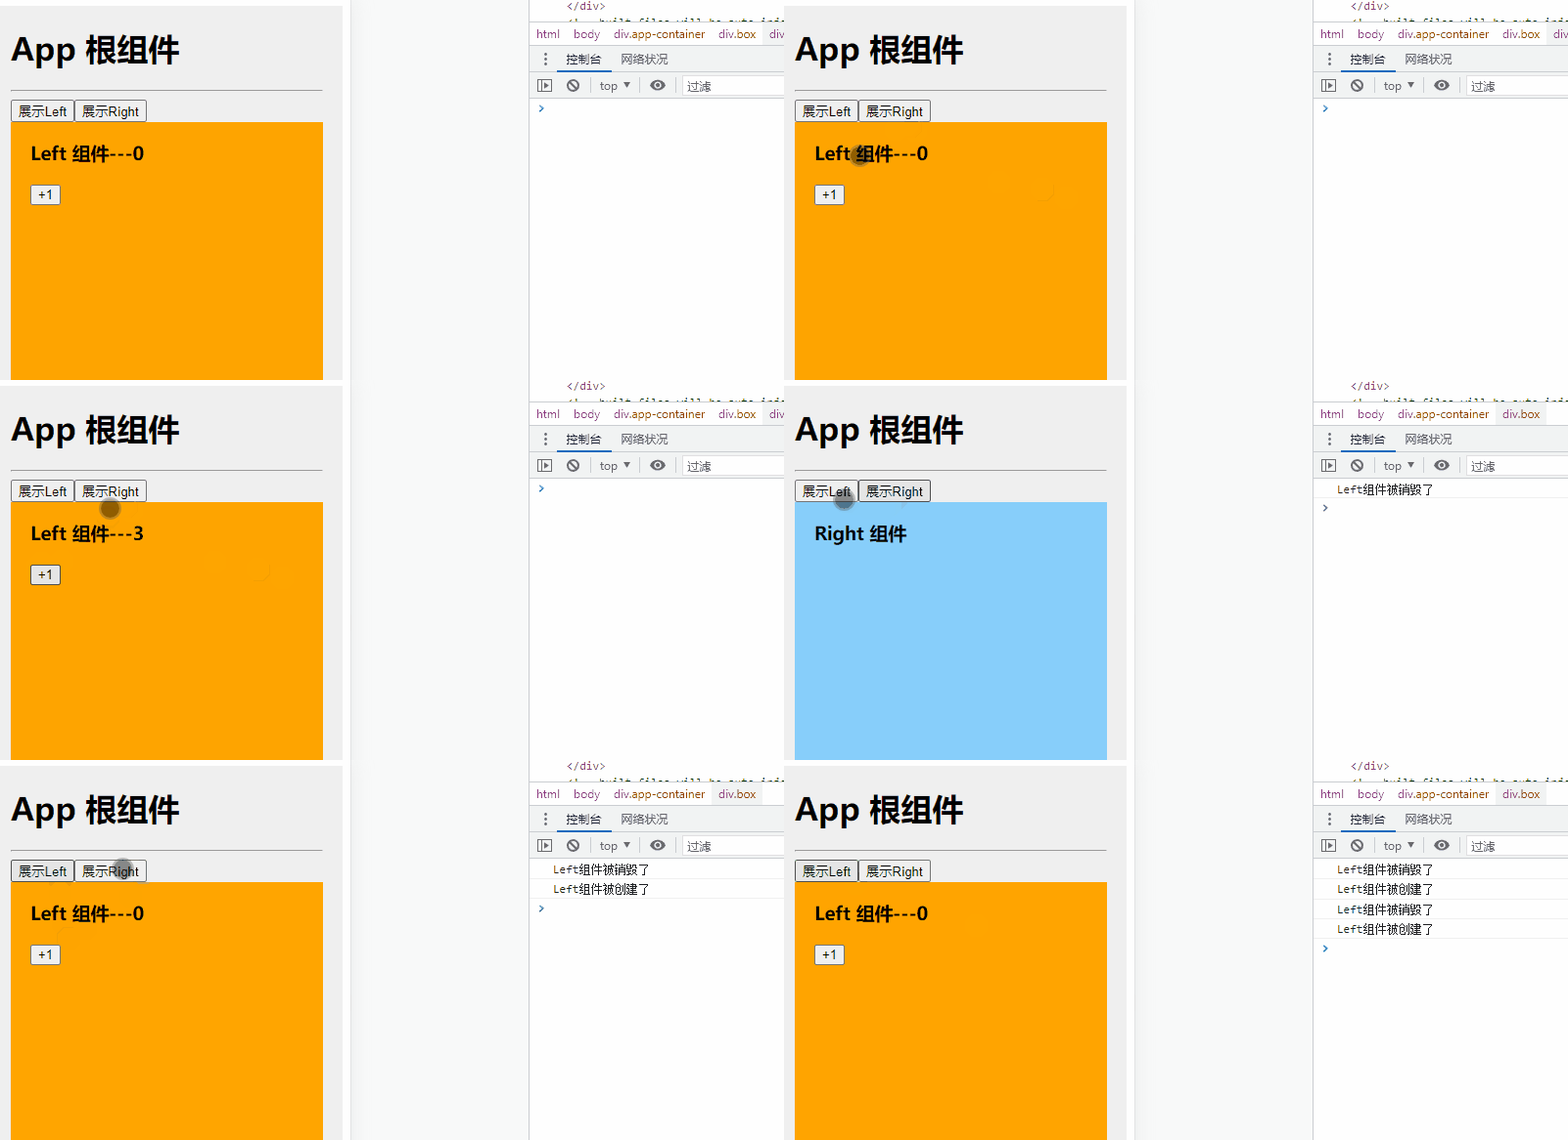
3.3 切换时生命周期—销毁重建
离开时,把Left组件销毁了,进入时重新创建。
四 使用keep-alive时,状态变化
4.1 App.vue中使用keep-alive包裹Left组件
1
2
3
| <keep-alive>
<component :is="comName"></component>
</keep-alive>
|
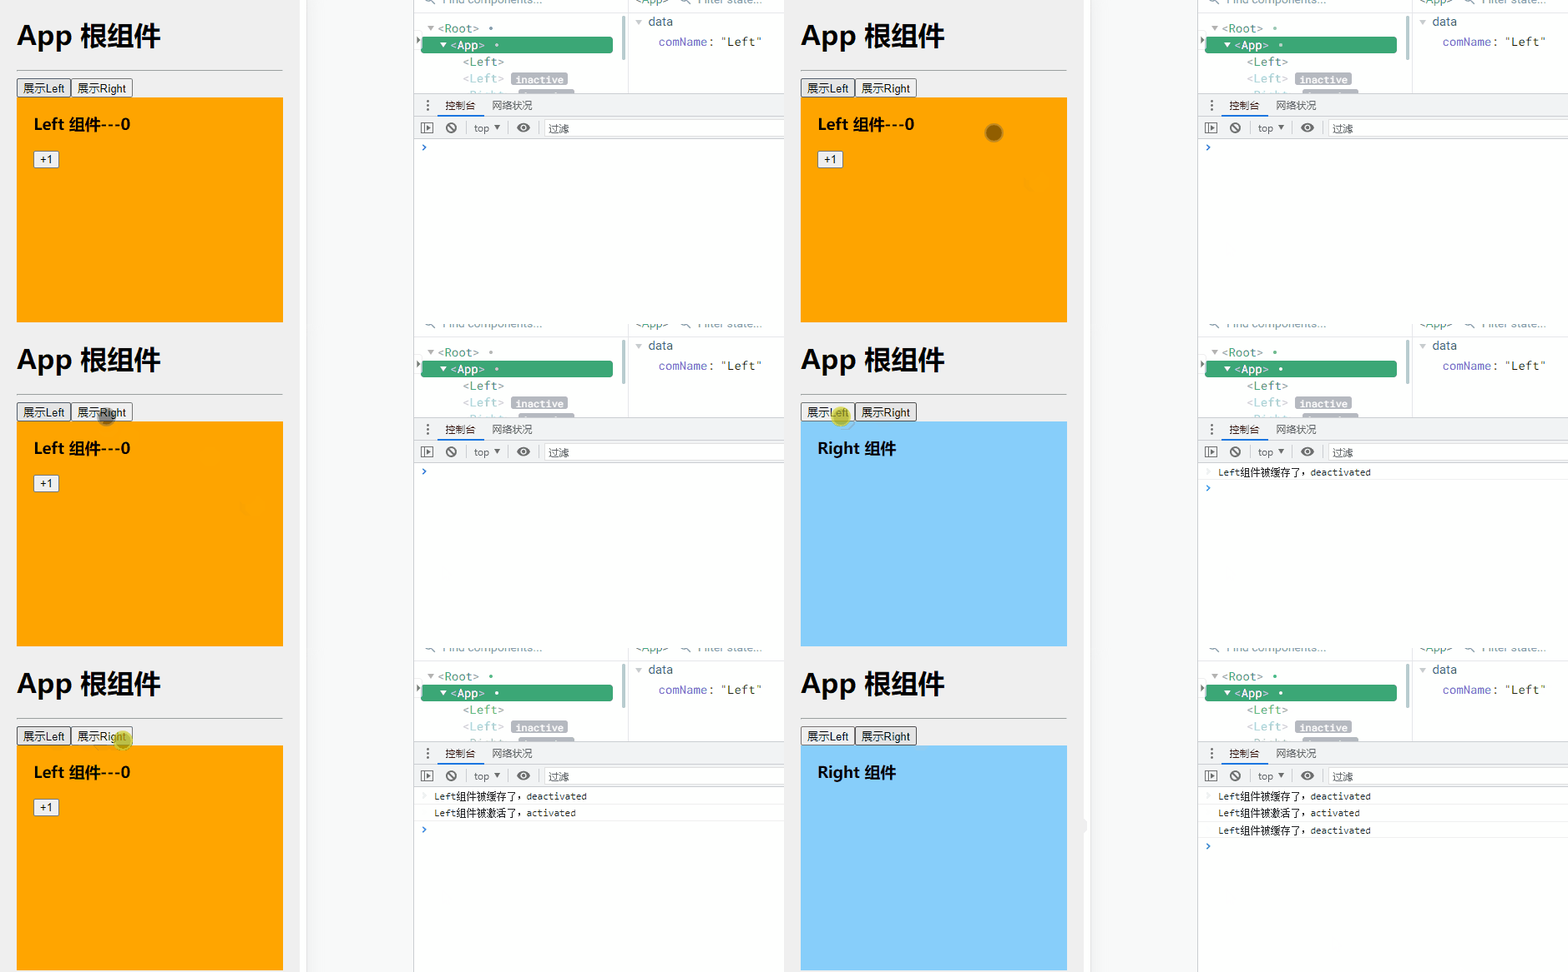
4.2 使用keep-alive之后,生命周期
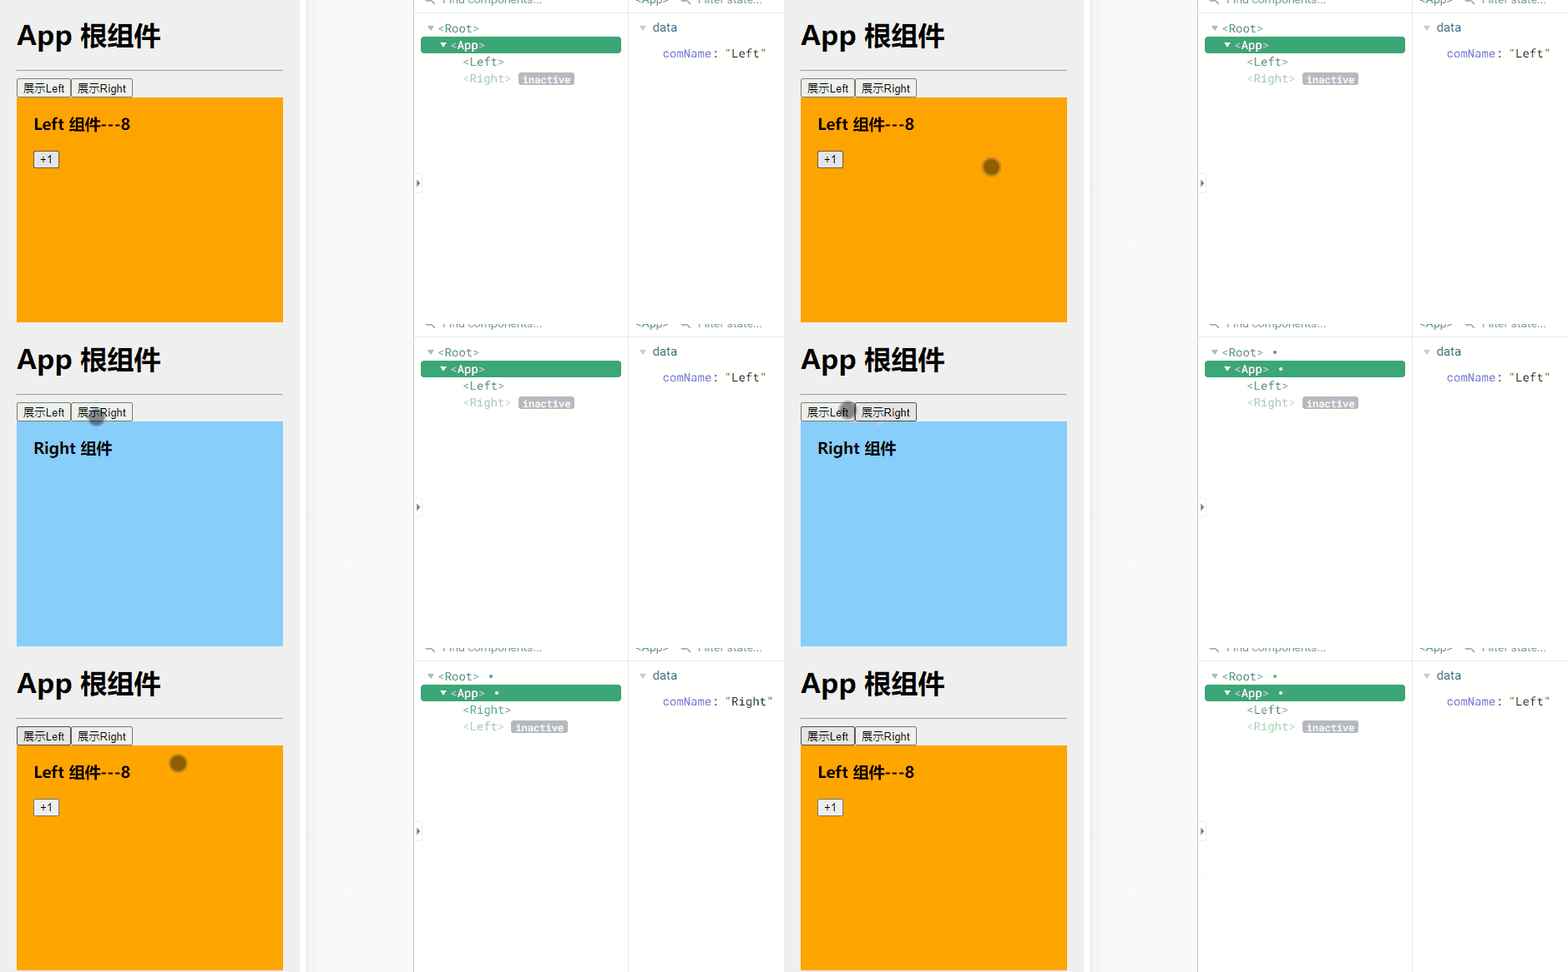
说明:keep-alive可以把内部的组件进行缓存,而不是销毁组件
五 keep-alive对应的生命周期函数
5.1 概念
- 当组件被缓存时,会自动触发组件的deactivated生命周期函数
- 当组件被激活时,会自动触发组件的activated生命周期函数
5.2 Left.vue组件的生命周期函数
1
2
3
4
5
6
| activated(){
console.log('Left组件被激活了,activated')
},
deactivated(){
console.log('Left组件被缓存了,deactivated')
}
|
5.3 效果图
