鸿蒙OS应用开发之——Java UI框架-常用组件Image

一 概述

  • 创建Image
  • 设置Image

二 创建Image

2.1 使用说明

Image组件需要结合布局文件使用

2.2 XML创建Image

1
2
3
4
5
6
7
8
9
10
11
12
13
14
<?xml version="1.0" encoding="utf-8"?>
<DirectionalLayout
xmlns:ohos="http://schemas.huawei.com/res/ohos"
ohos:height="match_parent"
ohos:width="match_parent"
ohos:orientation="vertical">

<Image
ohos:height="200vp"
ohos:width="200vp"
ohos:layout_alignment="center"
ohos:image_src="$media:dog"/>

</DirectionalLayout>

2.3 代码创建Image

1
2
3
4
5
DependentLayout dependentLayout=new DependentLayout(getContext());
Image image=new Image(getContext());
image.setPixelMap(ResourceTable.Media_dog);
dependentLayout.addComponent(image);
super.setUIContent(dependentLayout);

三 设置Image

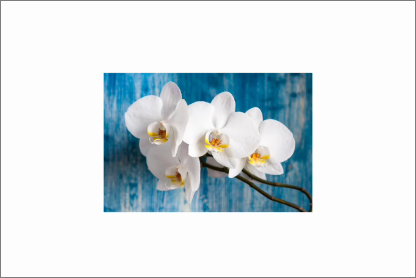
原图

3.1 设置透明度

布局文件

1
2
3
4
5
6
7
<Image
ohos:id="$+id:image"
ohos:width="match_content"
ohos:height="match_content"
ohos:layout_alignment="center"
ohos:image_src="$media:plant"
ohos:alpha="0.5"/>

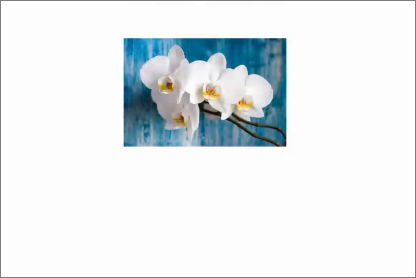
效果图

3.2 设置缩放系数

布局文件

1
2
3
4
5
6
7
8
<Image
ohos:id="$+id:image"
ohos:width="match_content"
ohos:height="match_content"
ohos:layout_alignment="center"
ohos:image_src="$media:plant"
ohos:scale_x="0.5"
ohos:scale_y="0.5"/>

效果图

3.3 设置缩放方式

缩放方式表

缩放方式
按比例将原图扩大(缩小)到Image的宽度,居中显示。 zoom_center
按比例将原图扩大(缩小)到Image的宽度,显示在Image的上部分位置。 zoom_start
按比例将原图扩大(缩小)到Image的宽度,显示在Image的下部分位置。 zoom_end
不按比例将图片扩大/缩小到Image的大小显示 stretch
保持原图的大小,显示在Image的中心。当原图的尺寸大于Image的尺寸时,超过部分裁剪处理 center
按比例将原图缩小到Image的宽度,将图片的内容完整居中显示 inside
按比例将原图扩大(缩小)到Image的宽度和高度中较大的值。如设置的高度值较大时,在垂直方向上完整显示,水平方向上超出Image宽度的部分裁剪处理 clip_center

布局文件

1
2
3
4
5
6
7
<Image
ohos:id="$+id:image"
ohos:width="200vp"
ohos:height="200vp"
ohos:layout_alignment="center"
ohos:image_src="$media:plant"
ohos:scale_mode="zoom_center"/>

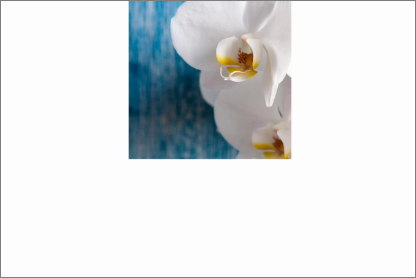
效果图

3.4 设置裁剪对齐模式

裁剪对齐

裁剪方式
左对齐裁剪。 left
右对齐裁剪。 right
顶部对齐裁剪。 top
底部对齐裁剪。 bottom
居中裁剪。 center

布局文件

1
2
3
4
5
6
7
<Image
ohos:id="$+id:image"
ohos:width="200vp"
ohos:height="200vp"
ohos:layout_alignment="center"
ohos:image_src="$media:plant"
ohos:clip_alignment="center"/>

效果图