一 概述
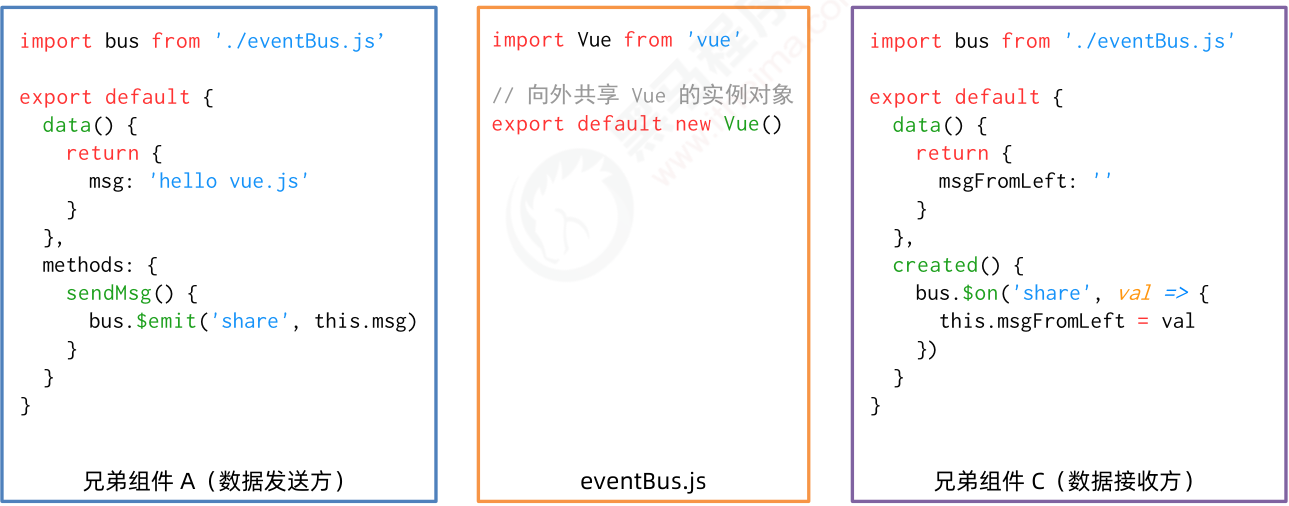
- 兄弟组件之间数据共享的方案—EventBus
- EventBus的使用步骤
- EventBus的使用示例
二 兄弟组件之间数据共享的方案—EventBus
在 vue2.x 中,兄弟组件之间数据共享的方案是EventBus。

三 EventBus的使用步骤
- 创建 eventBus.js 模块,并向外共享一个 Vue 的实例对象
- 在数据发送方,调用 bus.$emit('事件名称', 要发送的数据) 方法触发自定义事件
- 在数据接收方,调用 bus.$on('事件名称', 事件处理函数) 方法注册一个自定义事件
四 EventBus的使用示例
4.1 创建Eventbus.js
1
2
3
| import Vue from 'vue'
export default new Vue()
|
4.2 数据发送方Left.vue
1
2
3
4
5
6
7
8
9
10
11
12
13
14
15
16
| // 1. 导入 eventBus.js 模块
import bus from './eventBus.js'
export default {
props: ['msg', 'user'],
data() {
return {
str: `黑云压城城欲摧,渚青沙白鸟飞回。借问酒家何处是,半江瑟瑟半江红!`
}
},
methods: {
send() {
// 2. 通过 eventBus 来发送数据
bus.$emit('share', this.str)
}
}
}
|
布局内容
1
| <button @click="send">把好诗发给 Right</button>
|
4.3 数据接收方Right.vue
1
2
3
4
5
6
7
8
9
10
11
12
13
14
15
16
17
18
19
20
21
22
23
24
25
26
27
| // 1. 导入 eventBus.js 模块
import bus from './eventBus.js'
export default {
data() {
return {
// 子组件自己的数据,将来希望把 count 值传给父组件
count: 0,
msgFromLeft: ''
}
},
created() {
// 2. 为 bus 绑定自定义事件
bus.$on('share', val => {
console.log('在 Right 组件中定义的 share 被触发了!', val)
this.msgFromLeft = val
})
},
methods: {
add() {
// 让子组件的 count 值自增 +1
this.count += 1
// 把自增的结果,传给父组件
this.$emit('numchange', this.count)
}
}
}
|
布局内容
1
2
3
4
5
6
7
8
| <template>
<div class="right-container">
<h3>Right 组件 --- {{ count }}</h3>
<button @click="add">+1</button>
<hr />
<p>{{ msgFromLeft }}</p>
</div>
</template>
|
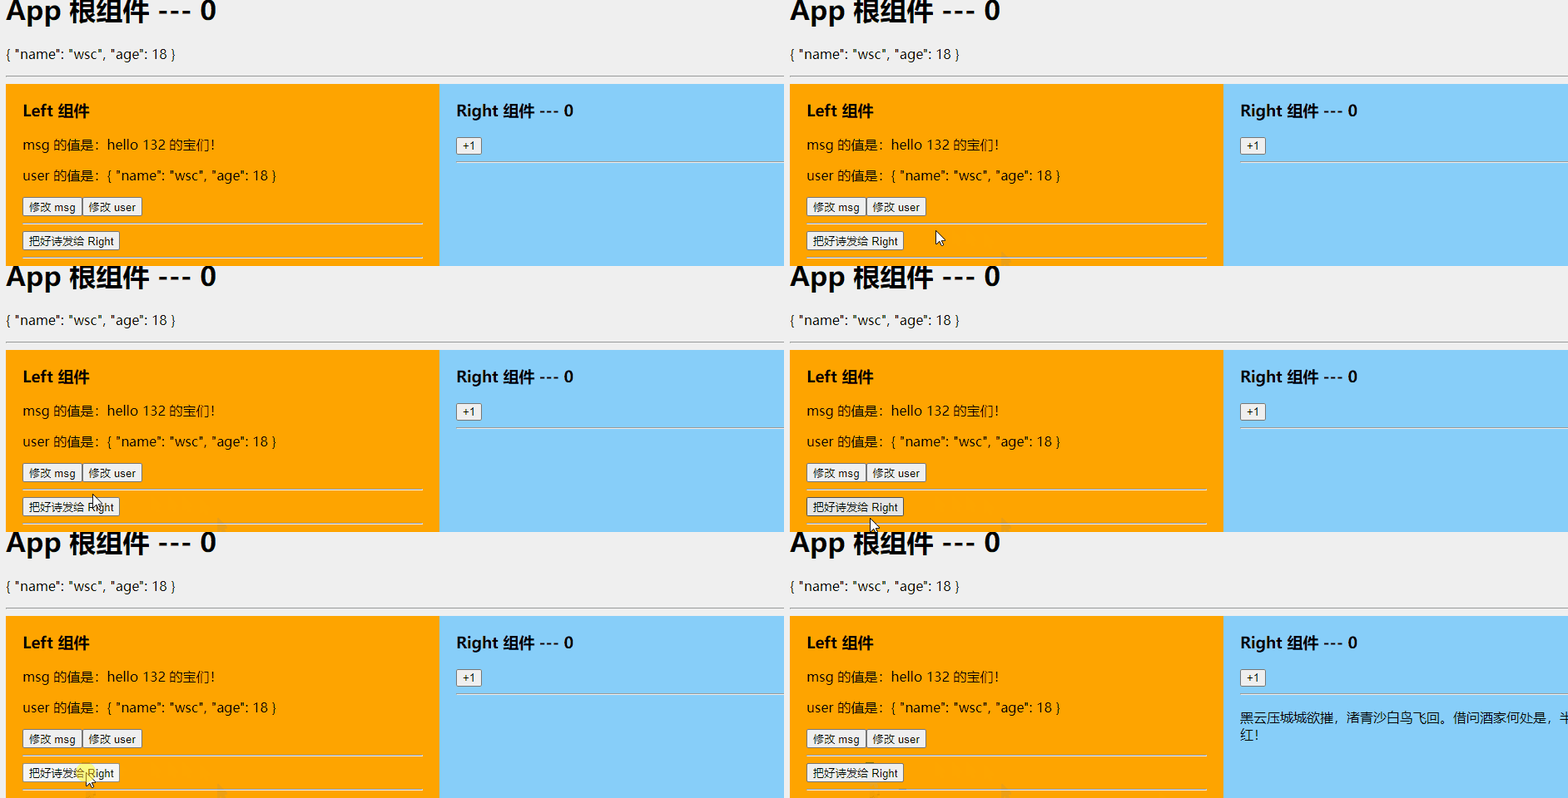
4.4 效果图


