Vue2.0开发之——webpack基础-html-webpack-plugin插件(05)
一 概述
- html-webpack-plugin插件介绍
- html-webpack-plugin插件安装与配置
- html-webpack-plugin插件的特性
二 html-webpack-plugin插件介绍
- webpack中的HTML插件(类似于一个模板引擎插件)
- 可以通过此插件自定制Index.html页面的内容
三 html-webpack-plugin插件安装与配置
3.1 html-webpack-plugin插件安装
通过如下的命令,即可在项目中安装此插件
1 | npm install html-webpack-plugin -D |
安装完成后package.json->devDependencies下可以看到html-webpack-plugin依赖
1 | "devDependencies": { |
3.2 html-webpack-plugin插件配置
1-导入HTML插件,得到一个构造函数
1 | const HtmlPlugin =require('html-webpack-plugin') |
2-指定源文件和生成文件的存放路径
1 | const htmlPlugin = new HtmlPlugin({ |
3-通过plugins节点,使htmlPlugin插件生效
1 | module.exports = { |
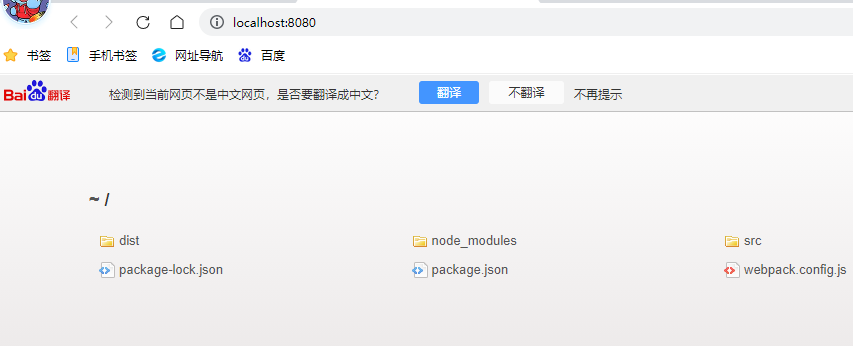
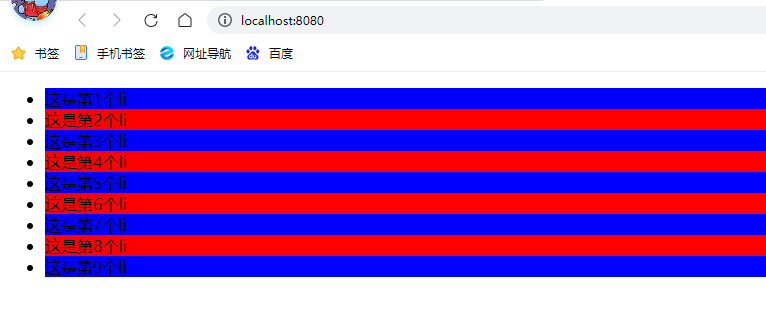
3.3 使用html-webpack-plugin前后对比
| 使用前 | 使用后 |
|---|---|
 |
 |
说明:
- 使用前,未配置html源和目的路径,打开后是根目录
- 使用后,配置了html源和目的路径,可以预览效果图
四 html-webpack-plugin插件的特性
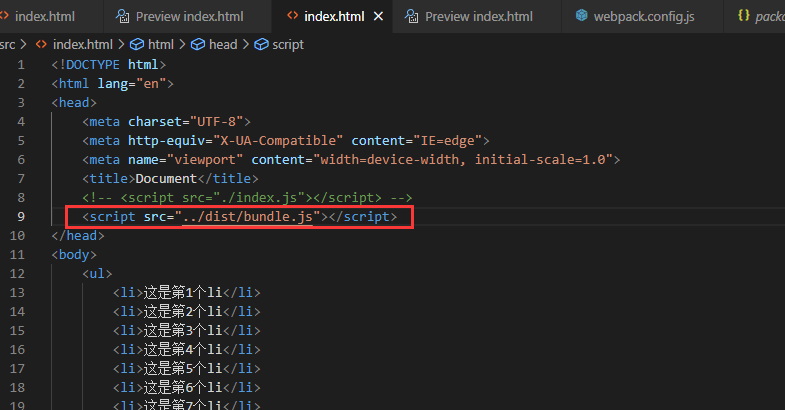
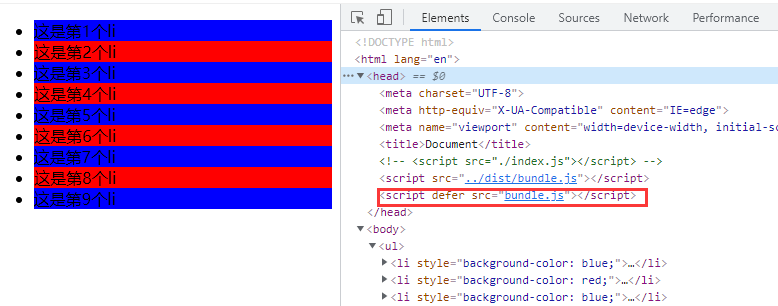
4.1 index源码和html-webpack-plugin生成对比
| index源码 | html-webpack-plugin生成 |
|---|---|
 |
 |
4.2 解惑hmtl-webpack-plugin
- 通过HTML插件复制到项目根目录中的Index.html页面,也被放到内存中
- HTML插件在生成的index页面,自动注入了打包的bundle.js文件
五 参考
Webpack-全局 exports