一 概述
- 插件是对js接口(export一些js接口方法),自定义组件或页面的封装,用于嵌入到小程序中使用
- 插件的开发和上传发布和小程序一样,插件一旦发布,第三方使用时无法查看插件的代码
- 插件开发完成,未发布前,可以使用miniprogram目录中编写小程序代码来测试插件
二 插件目录结构介绍
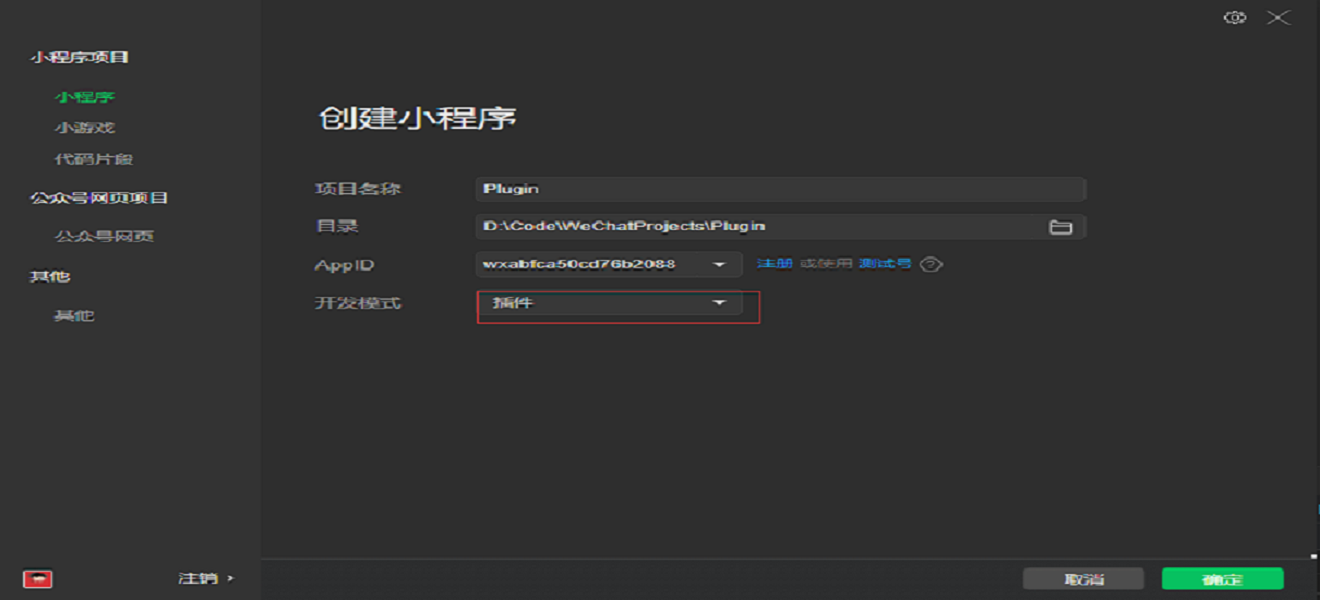
2.1 创建插件项目

2.2 默认插件项目
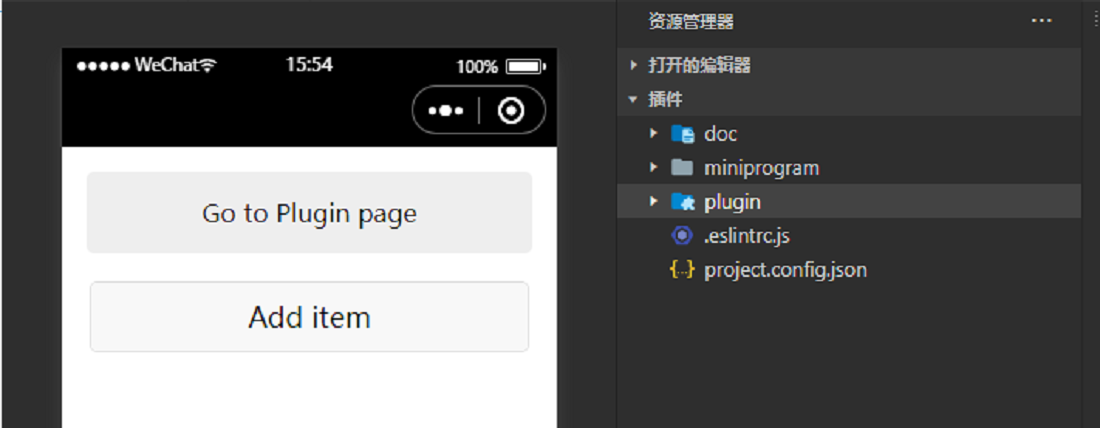
插件项目预览

插件项目目录介绍
- plugin目录:插件代码目录
- miniprogram目录:防止一个小程序,用于调试插件
- doc目录:用于放置插件开发文档
插件(plugin)目录结构
个插件可以包含若干个自定义组件、页面,和一组 js 接口
1
2
3
4
5
6
7
8
9
10
11
12
13
| plugin
├── components
│ ├── hello-component.js // 插件提供的自定义组件(可以有多个)
│ ├── hello-component.json
│ ├── hello-component.wxml
│ └── hello-component.wxss
├── pages
│ ├── hello-page.js // 插件提供的页面(可以有多个,自小程序基础库版本 2.1.0 开始支持)
│ ├── hello-page.json
│ ├── hello-page.wxml
│ └── hello-page.wxss
├── index.js // 插件的 js 接口
└── plugin.json // 插件配置文件
|
三 插件开发(将组件包装成插件)
3.1 自定义组件开发
my-component.json配置
1
2
3
4
| {
"component":true,
"usingComponents": {}
}
|
my-component.wxml页面
1
2
3
4
5
| <view class="list" wx:for="{{list}}" wx:key="*this">
<text>我是第{{item}}项</text>
</view>
<button bindtap="addItem">add</button>
<button bindtap="delItem">del</button>
|
my-component.wxss样式
1
2
3
4
5
| .list{
text-align: center;
background-color: #ccc;
border-top: 1rpx solid #fff;
}
|
my-component.js—自定义组件
1
2
3
4
5
6
7
8
9
10
11
12
13
14
15
16
17
18
19
20
21
22
23
| Component({
data: {
list: [1, 2, 3, 4, 5]
},
methods: {
addItem: function () {
var list = this.data.list
list.push(list.length + 1)
this.setData({
list: list
})
},
delItem: function () {
var list = this.data.list
if (list.length > 0) {
list.pop()
}
this.setData({
list: list
})
}
}
})
|
3.2 插件的js接口方法(index.js)
1
2
3
4
5
6
| module.exports = {
sayHello() {
console.log('Hello plugin!')
},
answer: 42
}
|
3.3 插件配置文件(plugin.json)
1
2
3
4
5
6
7
8
9
| {
"publicComponents": {
"my-component": "components/my-component"
},
"main": "index.js",
"pages": {
"index": "pages/index"
}
}
|
说明:
- my-component:自定义组件
- index:pages/index页面
- index.js:所有js接口方法
四 插件的测试(miniprogram)
4.1 miniprogram/pages/index/index.json配置
1
2
3
4
5
| {
"usingComponents": {
"my-list": "plugin://my-plugin/my-component"
}
}
|
4.2 使用
miniprogram/pages/index/index.wxml
1
2
3
4
| <navigator id="nav" url="plugin://my-plugin/index">
Go to Plugin page
</navigator>
<my-list/>
|
miniprogram/pages/index/index.wxss
1
2
3
4
5
6
7
8
9
10
11
| #nav {
text-align: center;
background: #eeeeee;
margin: 1em;
padding: 1em;
border-radius: 5px;
}
#add {
margin: 1em;
}
|
miniprogram/pages/index/index.js
1
2
3
4
5
6
7
8
9
10
11
12
| const plugin = requirePlugin('my-plugin')
Page({
data: {
items: [],
currentItem: 0
},
onLoad() {
plugin.sayHello()
const world = plugin.answer
console.log(world)
}
})
|
五 参考

